Utility Room Design & Boot Rooms: The Hardest-Working Rooms in a Luxury Home
A comprehensive guide to utility room design and boot rooms for high-end homes. Discover layouts, materials, storage solutions, and how these essential spaces complement a bespoke kitchen.
There is a particular kind of frustration that comes from owning a beautiful bespoke kitchen and immediately cluttering it with drying racks, dog towels, and Wellington boots. The kitchen was designed to be the heart of the home. The utility room and boot room exist to protect that heart from the mess of daily life.
These are the rooms that do the unglamorous work — the laundry, the school-bag sorting, the flower conditioning, the boot scraping — so that the kitchen can remain the composed, welcoming space it was designed to be. And yet, in too many otherwise thoughtful renovations, the utility room is treated as an afterthought: a leftover cupboard with a washing machine shoved in and a shelf bolted to the wall.
That is a missed opportunity of the first order. A well-designed utility room, properly integrated with a bespoke kitchen, transforms how a household runs. Here is how to get it right.
Why Utility Room Design Matters in a Luxury Home
The case for a dedicated utility room is both practical and philosophical. Practically, it gives you somewhere to put the tumble dryer, the ironing board, the cleaning supplies, and the forty-seven items of school uniform that need washing every week. Philosophically, it allows the kitchen to be the room you actually designed — not a kitchen that moonlights as a laundry.
In homes at the upper end of the market, where kitchens might represent an investment of fifty thousand pounds or considerably more, it makes no sense to compromise that investment with an airing rack draped over the island. The utility room is not a luxury. It is the thing that makes the luxury kitchen actually work as intended.
This is what we sometimes call the "hidden kitchen" concept. The main kitchen handles the theatre of cooking and entertaining — the beautiful island, the statement range cooker, the carefully curated open shelving. The utility room handles everything else. It is the backstage area, the engine room, and it should be designed with the same care and intelligence as the kitchen itself.
For a deeper look at this approach, our guide to hidden scullery design explores the idea of moving prep and clean-up tasks out of the main kitchen entirely.
Planning Your Utility Room Layout
The layout of a utility room depends on three things: available space, intended functions, and relationship to the kitchen. Get these right and even a modest utility room will punch well above its weight.
The Galley Utility
The most common configuration, particularly in side returns and narrow extensions, is a galley layout with runs of cabinetry along two parallel walls. This is an efficient use of space that provides ample worktop area and storage while keeping everything within arm's reach.
A typical galley utility might run three to four metres in length and no more than two metres wide. One side handles the wet tasks — sink, washing machine, tumble dryer — while the other accommodates storage, a folding surface, and perhaps a secondary fridge or freezer.
The L-Shaped Utility
Where a little more space is available, an L-shaped layout opens up possibilities. The corner becomes a natural transition point between zones: laundry on one arm, household storage and preparation on the other. This arrangement also allows for a more generous sink position, which is valuable if you plan to use the utility for flower arranging or hand-washing delicates.
The Walk-Through Utility
In many of the homes we design for across the M11 corridor and Cambridge, the utility room sits between the kitchen and a rear or side entrance. This walk-through arrangement is ideal: the room serves double duty as both a working utility and a transitional space between outdoors and the rest of the house. It is here that the utility room and boot room functions begin to merge, which we will return to shortly.
Whatever the layout, the guiding principle is the same: plan the room around its tasks, not around standard cabinet sizes. Bespoke cabinetry means you can fit a perfectly proportioned tall unit for broom storage in a gap that would defeat anything off the shelf. You can build in a pull-out drying rack that disappears behind a door. You can design a worktop at exactly the right height for folding laundry comfortably, which is almost certainly not the standard kitchen worktop height.
Key Features of a Well-Designed Utility Room
A utility room can accommodate a remarkable range of functions if each one is planned for deliberately. These are the features we find ourselves designing most often.
Laundry and Drying
The core function. At minimum, this means space for a washing machine and tumble dryer — ideally side by side with a worktop above for folding, though stacking is perfectly workable where width is limited. Beyond the machines themselves, consider:
- A dedicated drying area with a ceiling-mounted airer or pull-out drying rack, ideally near a source of ventilation or a radiator
- A deep Belfast sink for hand-washing, soaking, and filling buckets — far more versatile than a standard utility sink
- Sorting space for lights, darks, and delicates, which can be as simple as pull-out fabric bags concealed behind cabinet doors
- An ironing station — either a built-in fold-down board or space to set up a freestanding one without blocking the room
Storage That Earns Its Keep
The utility room is the natural home for everything the kitchen should not have to accommodate. Cleaning products, vacuum cleaners, mops, brooms, surplus crockery, table linen, candles, vases — the list is long and the storage needs to be generous.
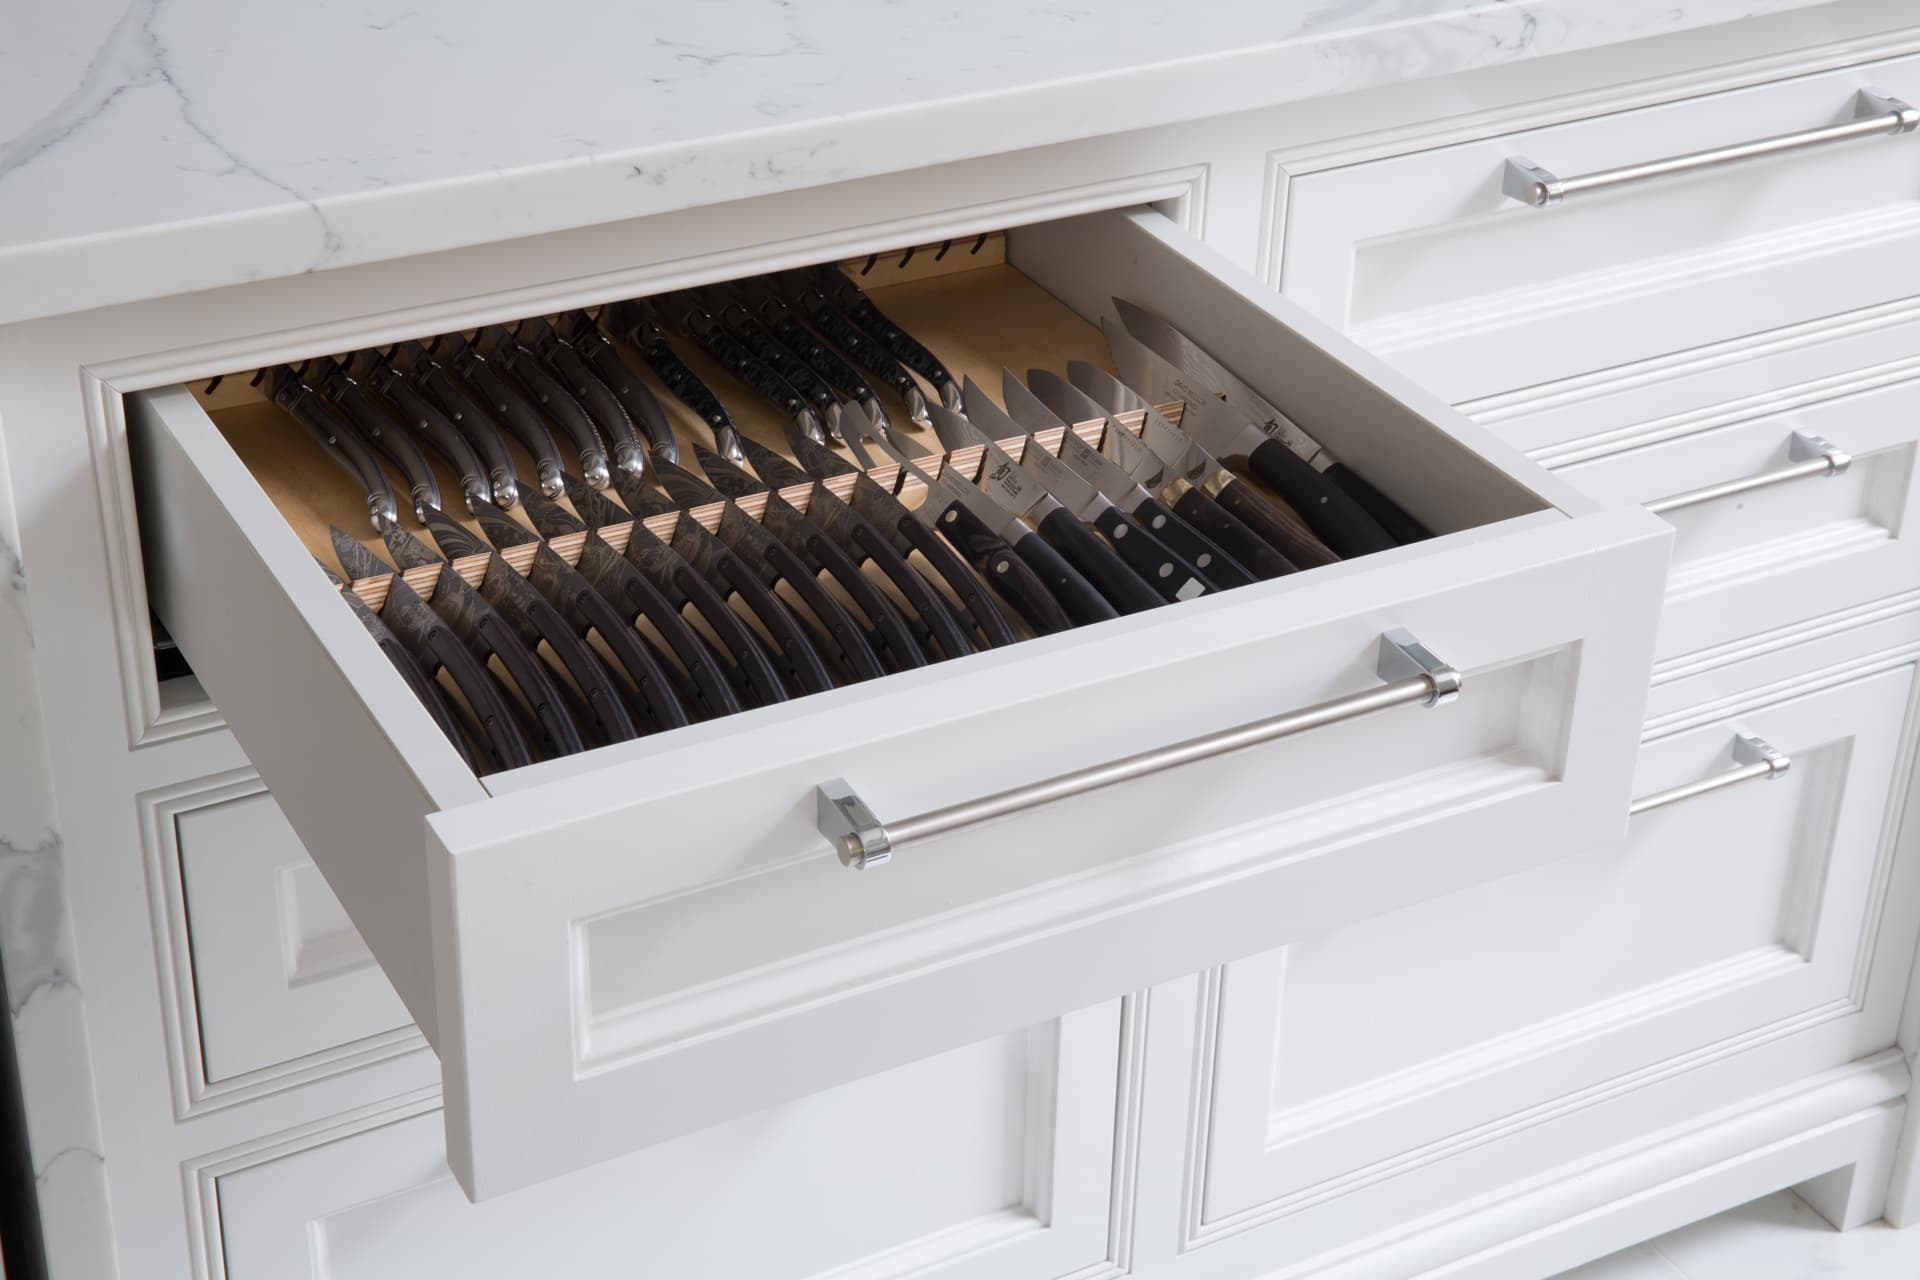
Full-height larder-style units with adjustable shelving are the workhorses here. We also design bespoke pull-out caddies for cleaning supplies, dedicated slots for ironing boards and step stools, and deep drawers for bulky items like tablecloths and spare bedding.
If you have the space, a secondary walk-in pantry adjacent to the utility can handle overflow food storage, keeping the kitchen's pantry curated and manageable.
Flower Arranging and Household Preparation
This is a function that surprises people until they use it. A utility room with a generous sink, good natural light, and a durable worktop is an ideal space for conditioning and arranging flowers, potting indoor plants, wrapping gifts, and handling any task that involves water, mess, or temporary chaos.
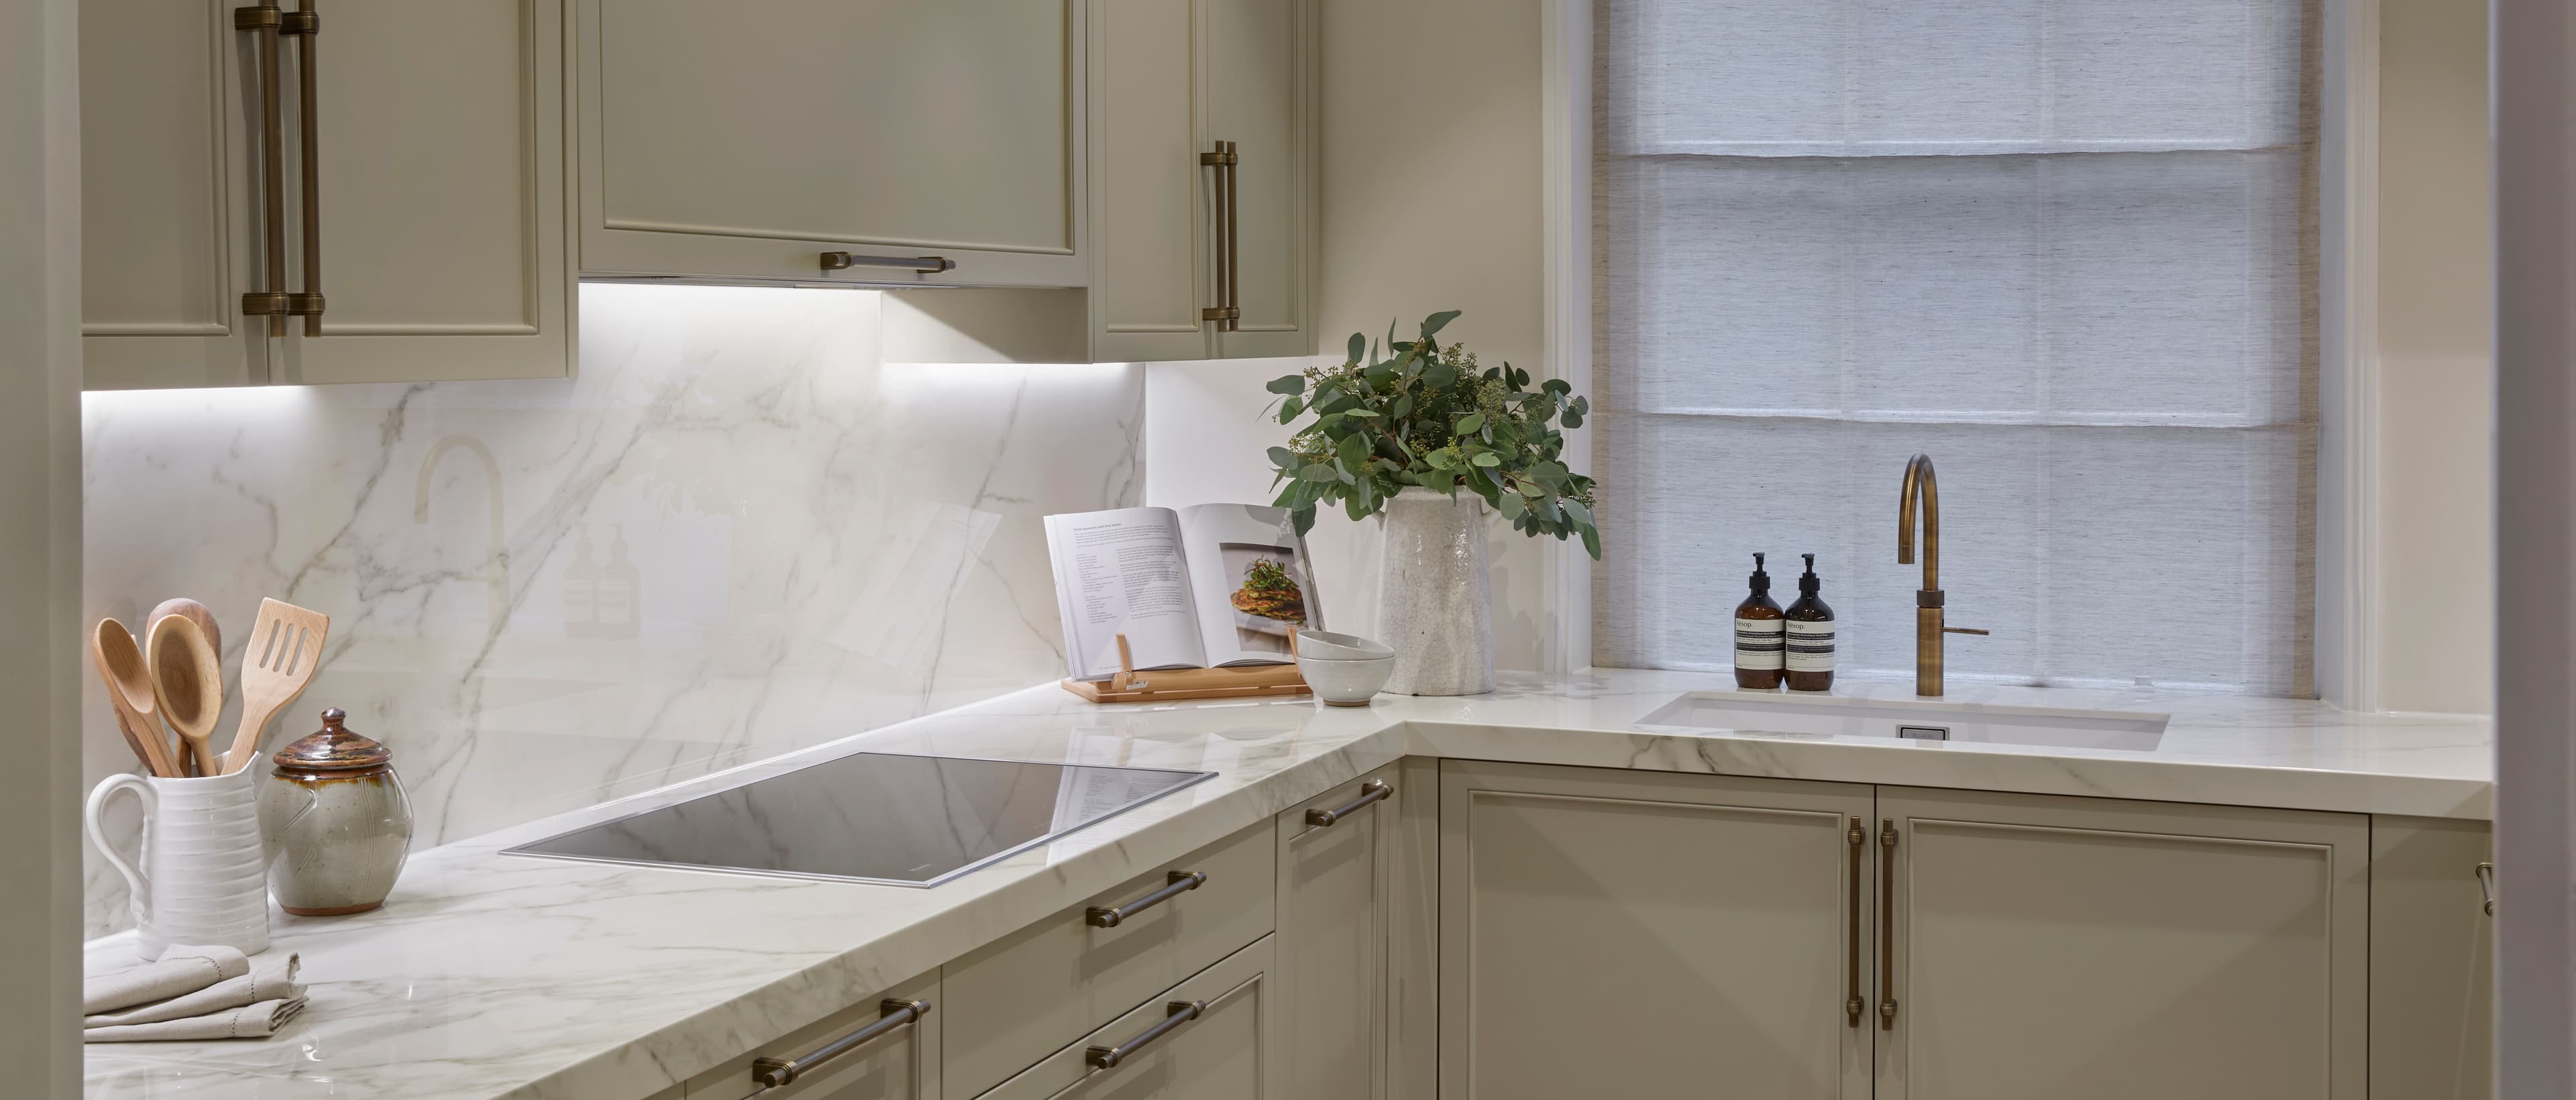
The key is a deep sink — the Belfast is the obvious choice — with a tall tap that can accommodate a large vase. A section of worktop in a material that does not mind scissors, wire, or damp stems is essential. Honed granite, oiled oak, or even a stainless steel inset are all practical options.
Dog Washing
For households with dogs — and in country homes along the M11 corridor, that is a significant proportion — a dog wash station in the utility room is a genuinely life-improving feature. The alternative is a muddy dog in the bath, which is nobody's idea of a good time.
A dog wash can be as simple as a raised, tiled alcove with a hand-held shower attachment and a low threshold for easy access. Drainage needs to be robust, and the surrounding surfaces should be fully waterproof. We typically tile the entire wash area in a material that complements the room without being precious about it — a hardwearing porcelain or a natural stone with a good seal.
Materials That Withstand the Daily Onslaught
A utility room needs to be robust. This is not the place for materials that require careful handling or that show every mark. Equally, because the utility room is part of a considered whole-house design, it should not look like it belongs in a different building.
Cabinetry
We build utility room cabinetry to the same standard as our kitchen cabinetry — the same joinery techniques, the same quality of timber, the same paint systems. The difference is usually in the level of decorative detail. A utility room might use a plain Shaker door where the kitchen has a beaded frame, or a simple butt hinge where the kitchen has a more ornamental option. The quality is identical; the expression is quieter.
Painted finishes are overwhelmingly the most practical choice. They can be refreshed, they wipe clean, and they allow the utility room to sit harmoniously with the kitchen's palette. We often use the same colour throughout, or drop to a slightly softer tone — the same family, a shade lighter.
Worktops
Durability is paramount. The utility room worktop will see laundry baskets dumped on it, wet boots placed on it, and flower stems snipped across it. It needs to be resistant to moisture, scratching, and staining.
Our most popular utility room worktop choices include:
- Honed granite — virtually indestructible and ages gracefully
- Quartz composite — consistent colour, non-porous, and low maintenance
- Oiled iroko or oak — warm and forgiving, though requiring periodic re-oiling
- Stainless steel — for a professional, no-nonsense aesthetic around the sink area
Matching the kitchen's worktop material is one option, but do not feel bound by it. A kitchen with a delicate marble surface might benefit from a more robust granite or quartz in the utility. The visual connection can come through colour tone rather than identical material.
Flooring
The floor takes the brunt of it. Water, mud, pet hair, dropped items — a utility room floor needs to cope with all of this without looking battered within the first year.
Natural stone flags, porcelain tiles, and engineered brick are the strongest choices. If the kitchen floor continues into the utility, that visual continuity can make both rooms feel more generous. If the utility has its own floor, treat it as an opportunity to use something that acknowledges the room's character — a tumbled stone where the kitchen has a honed finish, or a dark tile that hides the worst of the muddy paw prints.
The Boot Room: Where Outside Meets Inside
The boot room is a distinctly British institution, and one that makes an enormous amount of practical sense. It is the transitional space between the outdoors and the house — the place where muddy boots come off, wet coats are hung, and the dog shakes itself before anyone has to deal with the consequences.
Designing the Entry Point
A boot room works best when it sits at or near an external door, typically a side or rear entrance. It is the first space you enter when coming in from the garden, the school run, or a walk, and it needs to accommodate the controlled chaos of arrival.
The essentials are:
- Seating — a built-in bench is the classic solution, and for good reason. It provides a comfortable perch for removing boots and a storage opportunity beneath for shoes, baskets, or crates
- Coat hooks or pegs — generous, well-spaced, and at varying heights if children are using them. A row of Shaker-style pegs on a rail is both beautiful and entirely practical
- Boot storage — open cubbies or a ventilated cupboard where boots can dry without creating an obstacle course
- A durable floor — this is the room that takes the first impact. Stone, tile, or brick, ideally with underfloor heating to help dry wet footwear
Storage and Organisation
The boot room is not just about boots. It is where school bags are dropped, keys are deposited, leads and torches are kept to hand, and sports kit accumulates. Designing adequate storage here prevents all of this from migrating into the kitchen or hallway.
We design boot rooms with a combination of open and closed storage: open hooks and cubbies for everyday items that need to be grabbed quickly, and closed cupboards for seasonal kit, spare wellies, and anything that is better hidden. Individual lockers or designated sections for each family member are popular in family homes — everyone knows where their things are, and the morning scramble becomes marginally less frantic.
Matching the Kitchen Aesthetic
A boot room should feel connected to the rest of the ground floor without pretending it is a drawing room. The same cabinetry style as the kitchen, perhaps in a complementary colour, creates a sense of continuity. Natural timber benches and hooks add warmth and tactility. Good lighting — both practical and atmospheric — makes the space feel intentional rather than utilitarian.
The walls behind hooks and seating benefit from a robust treatment: tongue-and-groove panelling is a classic choice that protects the plaster and adds character. It can be painted to match the cabinetry or left in a natural timber finish for contrast.
Combining Boot Room and Utility Functions
In many homes, the boot room and utility room are one and the same — a single, multi-functional space that handles arrival, storage, laundry, and household tasks. This is not a compromise; it is often the most intelligent use of available space.
The key to a successful combined room is zoning. The boot room functions — seating, hooks, shoe storage — sit at the entrance end, closest to the external door. The utility functions — washing machine, dryer, sink, worktops — occupy the inner portion, closer to the kitchen. Between them, a transition point: a change in flooring material, a step in worktop height, or simply a gap in the cabinetry run that signals the shift from one zone to the next.
Ventilation is critical in a combined space. You are bringing together wet coats, drying laundry, and potentially a damp dog, all of which generate moisture. A properly specified extractor, good natural ventilation where possible, and materials that cope with humidity are all essential. This is a detail that must be resolved at the design stage, not discovered after the plaster starts bubbling.
Plumbing and Ventilation: The Invisible Essentials
The unglamorous truth of utility room design is that plumbing and ventilation make or break the room. Get these right and everything works seamlessly. Get them wrong and you are left with a room that smells of damp laundry and backs up at inconvenient moments.
Plumbing Considerations
Plan for more capacity than you think you need. A basic utility requires hot and cold supply to the sink, cold supply to the washing machine, and waste connections for both. But if you are adding a dog wash, a second dishwasher, a utility sink for flower arranging, or connections for a future appliance, the pipework needs to be in place before the cabinetry goes in.
We work with our clients' plumbers from the outset of the design process, ensuring that waste runs have adequate fall, supply pipes are accessible for maintenance, and isolation valves are fitted to every appliance connection. It is far cheaper to run an extra pipe during construction than to retrofit one through a finished cabinet.
Ventilation
Tumble dryers produce a remarkable quantity of warm, moist air. Even condenser models release some humidity. Add drying laundry, a damp dog, and wet coats, and a poorly ventilated utility room will develop condensation problems quickly.
Mechanical extract ventilation is essential — either a dedicated extractor fan or connection to a whole-house MVHR system. If the room has an external wall, a vented tumble dryer with a direct external duct is the simplest and most effective option. Where that is not possible, a condenser or heat-pump dryer paired with good background ventilation will do the job.
The Hidden Kitchen Concept
The most successful utility rooms are those designed as an extension of the kitchen — not visually, but functionally. This is the "hidden kitchen" idea: the main kitchen is the showroom, the place of beauty and sociability, while the utility handles everything that would otherwise undermine that atmosphere.
In practice, this means the utility room might house:
- A second dishwasher for heavy entertaining
- Additional sink space for large pots and pans
- A secondary oven or warming drawer
- Recycling and waste management that would otherwise consume kitchen cabinet space
- Small appliance storage for items used weekly rather than daily
The connection between kitchen and utility should be seamless — a doorway that allows easy movement, ideally without a step or change in level. Some clients prefer a concealed door or a jib door that sits flush with the kitchen panelling, making the utility room genuinely invisible when not in use.
This approach allows the main kitchen to be edited, curated, and calm. Everything that clutters — the half-empty cereal boxes, the recycling bags, the broom in the corner — has a proper home elsewhere. The kitchen becomes the room you imagined when you first commissioned it.
Getting Started
A utility room or boot room is best designed alongside the kitchen, not after it. The two rooms share services, materials, and aesthetic DNA. Designing them together ensures the plumbing runs are coordinated, the flooring flows naturally, and the cabinetry feels like a family rather than a coincidence.
If you are considering a new kitchen and want to explore how a utility room, boot room, or combined space could complement it, we would be glad to discuss the possibilities. Our design consultations begin with how you live — the boots, the dogs, the laundry mountains included — and work outward from there.
Frequently Asked Questions
Thinking about a new kitchen?
Book Your Free ConsultationYou might also enjoy

Bespoke Kitchen Cabinets: The Definitive Guide to Handmade Cabinetry
Everything you need to know about bespoke kitchen cabinets — from construction methods and timber selection to door styles, finishes, and the details that distinguish genuine craftsmanship from the merely expensive.
Bespoke Kitchen Joinery: The Craft Behind Cabinets That Last Generations
A detailed guide to the joinery techniques used in bespoke kitchen craftsmanship — from dovetail drawers and mortise-and-tenon frames to tongue and groove panels. Learn how to recognise quality joinery and why it determines how long your kitchen will last.
The Bespoke Kitchen Design Process: From Brief to Blueprint
How does a bespoke kitchen get designed? We walk through every stage of the design process — from developing the brief and spatial analysis to 3D visualisation, technical drawings, material specification, and sign-off.